.jpg)


Supplier Onboarding for Multi-Site Restaurants: The 8-Point Checklist
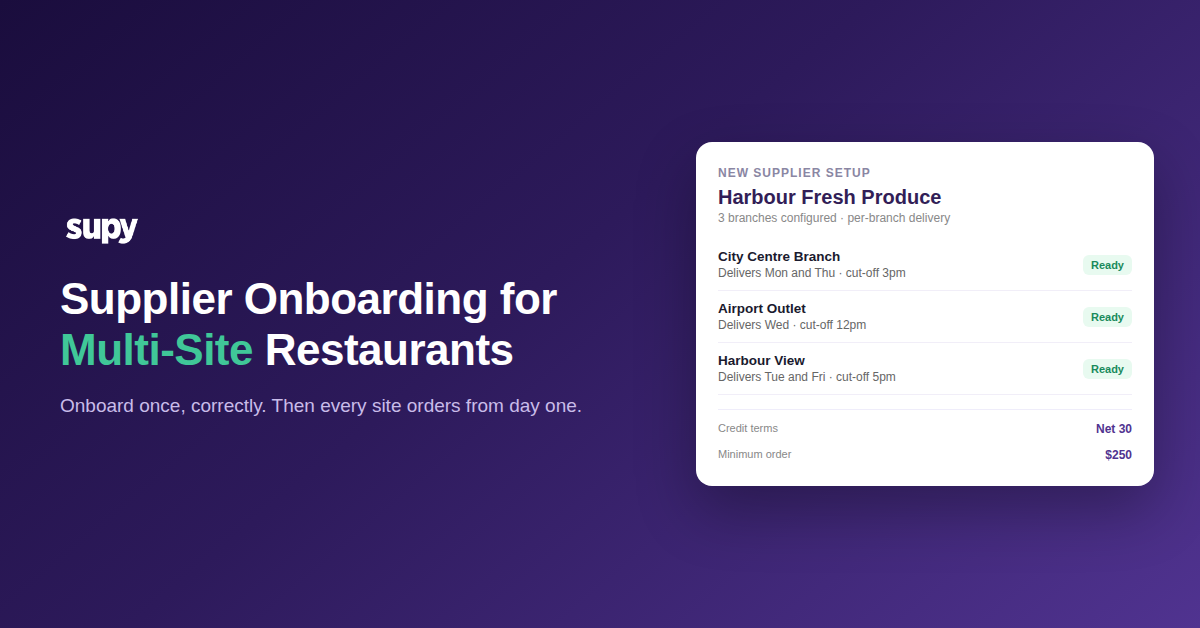
What a Multi-Site Supplier Onboarding Checklist Has to Cover
A supplier onboarding checklist is the fixed set of details a restaurant group captures, and the decisions it makes, before a new supplier's first order: master data, per-branch delivery and payment terms, who is allowed to order and up to what value, and how informal vendors are handled. Done once and done correctly, every site can order from that supplier on day one.
Onboard a supplier properly once and every location in your group can order from them straight away, on the right delivery days, through the right contact, and inside the limits you have set. That is the payoff a good checklist buys you. Skip it and the cost shows up later as duplicate supplier records, orders that reach the wrong contact, and spend nobody can consolidate because two brands named the same product two different ways.
The stakes are higher across a group than in a single restaurant. A single site can absorb a messy supplier setup because one person holds the context in their head. A ten-site group cannot: supplier master data is the foundation the rest of procurement rests on, and every gap in it multiplies by the number of locations. The checklist below is the order in which to build that foundation, followed by how to work it without stalling the business while you do.
The Multi-Site Supplier Onboarding Checklist
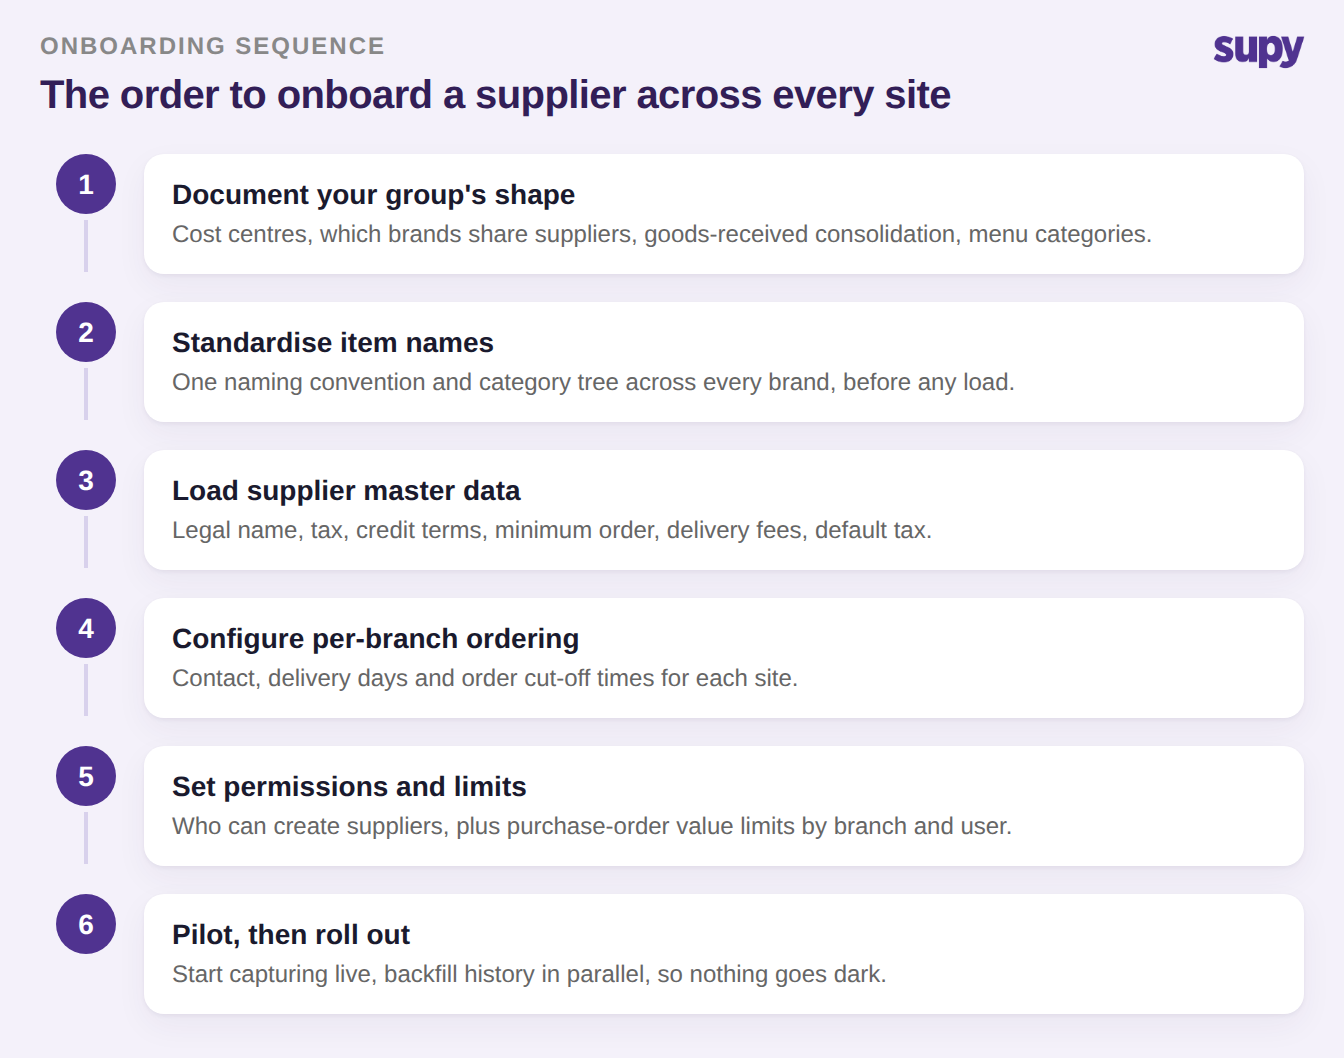
Work down the eight points in order. Each one names what to capture or decide, why it bites harder at multi-site scale, and the concrete way to handle it.
1. Document your group's shape before you load a single supplier
Decide the structure first: which brands share suppliers, how cost centres map to sites, whether goods-received notes consolidate across locations, and how your menu categories nest. This bites at scale because a decision you skip now becomes a rename-and-reclassify project across every site later. Write the group's shape down before anyone opens a supplier record.
2. Standardise item names and categories across every brand
Agree one naming convention and one category tree, then hold every brand to it. Merged or multi-brand groups are where this fails: one kitchen enters "Tomato 5kg" and another enters "Tomatoes, case", and now the same purchase cannot be compared or consolidated. Map the variants once, up front, so spend rolls up cleanly from the first order rather than after a painful clean-up.
3. Capture complete supplier master data
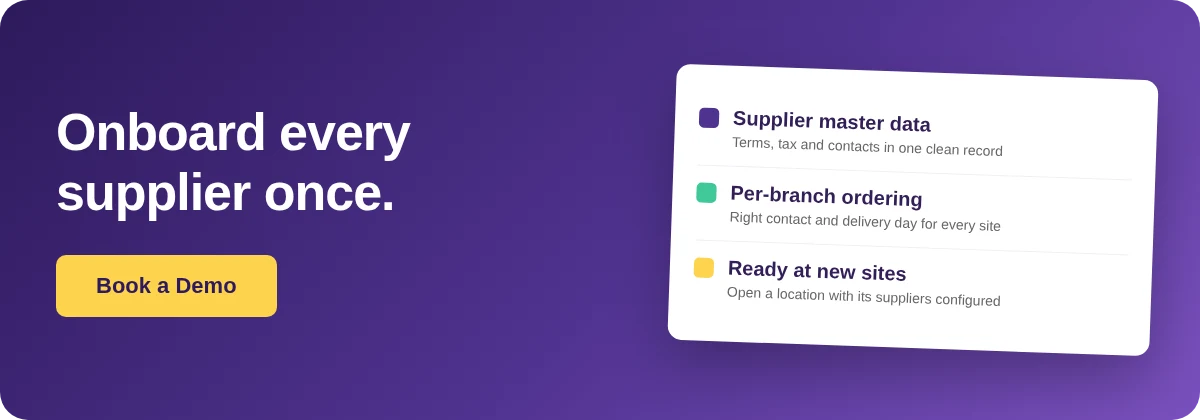
For each supplier, record the legal name, tax registration, payment and credit terms, minimum order value, delivery fees, and default tax rate. This is the record everything else references, so an incomplete one quietly breaks ordering, receiving, and accounting downstream. Supy's supplier management holds all of it, including custom terms and conditions per supplier or per branch, secondary-currency support, and the ability to hide prices on the purchase orders staff see.
4. Set up multiple contacts and per-branch delivery schedules
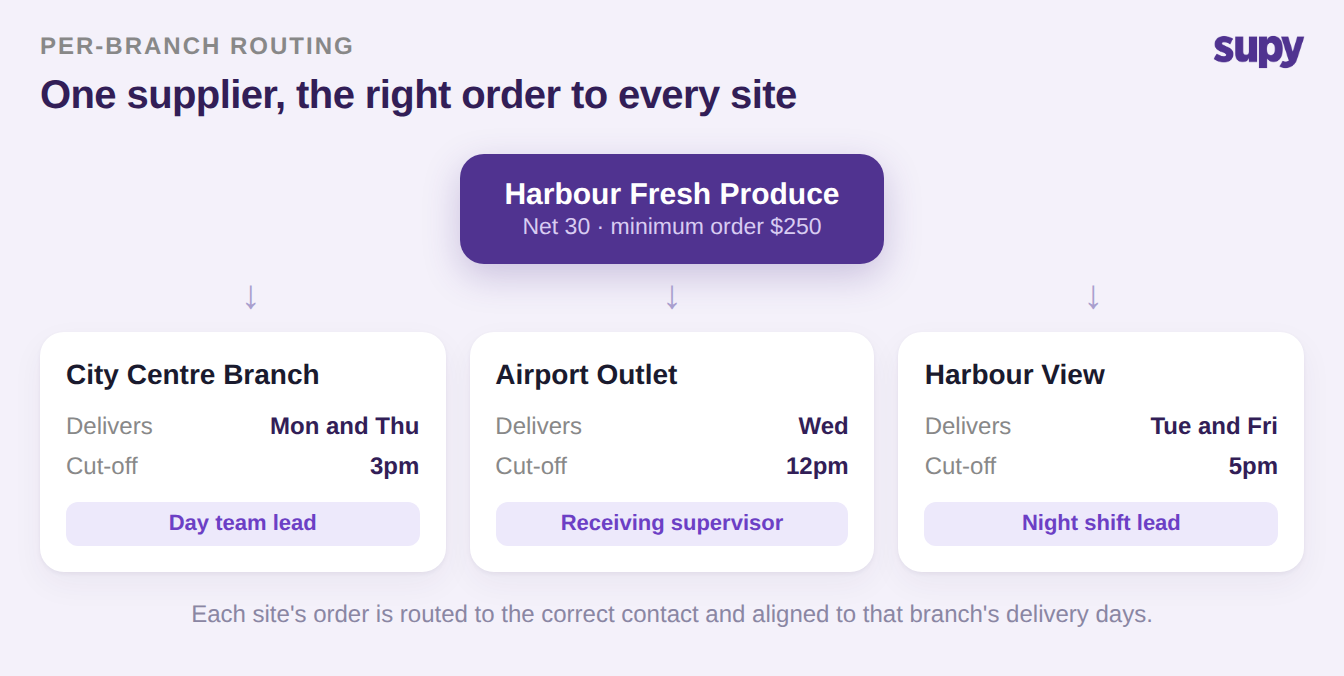
A group supplier rarely serves every site the same way. Capture a contact per branch, each site's own delivery days and order cut-off times, and its credit terms. At scale a single shared contact and one schedule misfires orders: the airport outlet's Wednesday delivery gets placed against the city-centre branch's Monday cut-off. Supy routes each site's order to the correct contact automatically and aligns purchase orders to that branch's delivery days, so the right order reaches the right person on the right day.
5. Classify informal and message-only vendors
Not every vendor emails a formal invoice. A large share of purchasing at many groups runs through vendors with no formal invoicing, ordered by message rather than by a structured purchase order. A rigid, purchase-order-only onboarding simply leaves those vendors off the system, and off the books. Decide how you will handle them during onboarding: set a preferred supplier per item and send orders through the channel the vendor actually accepts, whether that is email, a messaging app, or a direct integration, so informal spend is still captured.
6. Decide who can create suppliers and set ordering limits
Governance belongs in the onboarding step, not after the first rogue order. At multi-site scale, anyone who can freely add a supplier will eventually create a duplicate or an unvetted one. Set the rules up front: control who can create and edit supplier records, and put purchase-order value limits in place by supplier, branch, category, user, or par level, with sequential approvals triggered by branch and order value. That way a new supplier is usable without being a hole in your controls.
7. Reuse a proven setup when you add a location
Never re-enter supplier configuration site by site. Re-keying pricing and ordering settings across a growing estate is slow and drifts out of sync almost immediately. When you add a location, inherit the supplier item pricing and ordering settings from an existing site, then adjust only what genuinely differs for the new branch. A new outlet should open with its suppliers already configured, not with a blank procurement module.
8. Sequence onboarding so nothing goes dark
The order you switch things on matters as much as the data itself. Requiring a full history backfill, such as three months of past invoices, as a hard gate before go-live creates a blackout: new invoices keep arriving during the gap and risk being missed. Onboard the master data first, start capturing live transactions immediately, and backfill history in parallel rather than as a prerequisite. Assign one owner for the rollout and schedule the setup sessions, because inconsistent training is what makes key staff miss a step and forces you to redo it.
Working the Checklist Without a Data Blackout
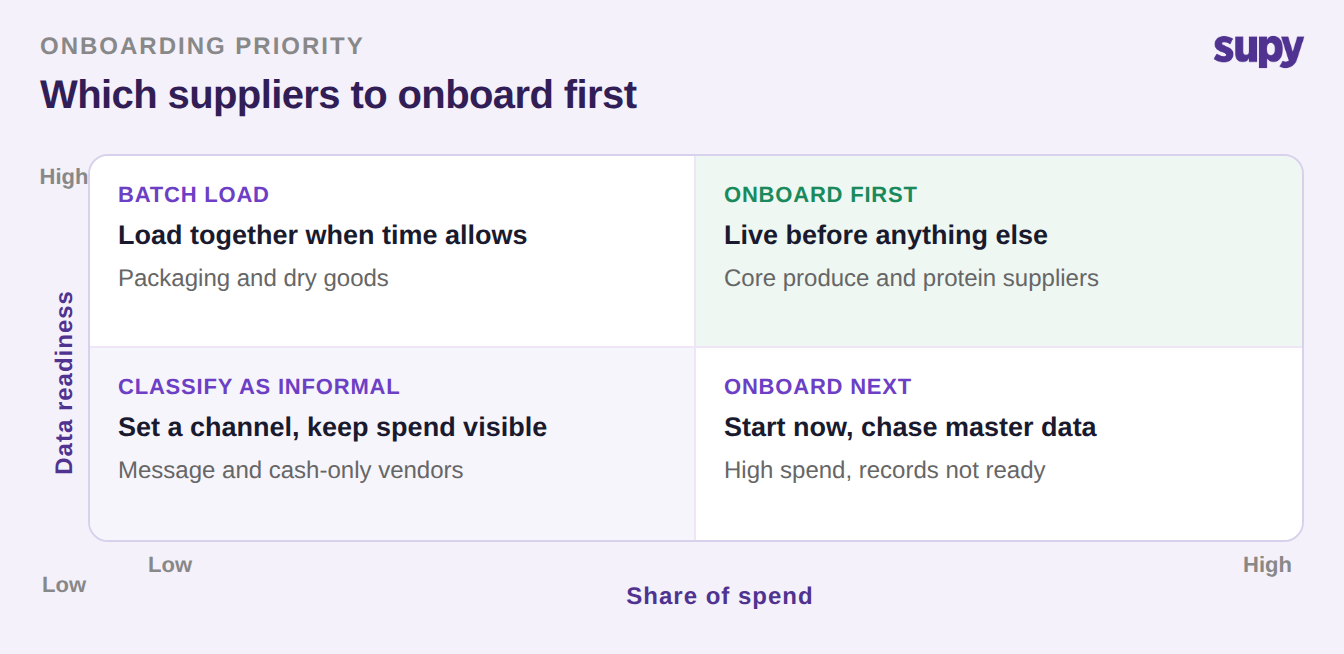
Run the eight points as a sequence, not a single big-bang switch-on. The failure mode to avoid is holding go-live hostage to perfect historical data: capture the essentials, start ordering, and let the history catch up behind you. Onboard by priority rather than alphabetically, so the suppliers your kitchens depend on daily are live first and the long tail follows.
A quick self-audit tells you where you stand. Run down the eight points and mark the ones you cannot answer cleanly today. If supplier master data (point 3) or per-branch schedules (point 4) are the gaps, start there, because everything else references them. If the gap is governance (point 6), fix it before your next wave of hires can place orders. Onboard your highest-spend, order-ready suppliers first, chase master data on the high-spend ones that are not ready yet without waiting on them, and batch-load the low-spend tail once the essentials are running.
Onboarding is the start of the relationship, not the end of the work. Once a supplier is live, a periodic supplier evaluation keeps the list honest and tells you which suppliers to keep, consolidate, or drop. Get the onboarding checklist right first, and every review after it starts from clean, comparable data.