.jpg)


Restaurant Inventory Setup Mistakes: Six Fixes Before You Go Live
Where a Restaurant Inventory Go-Live Actually Breaks
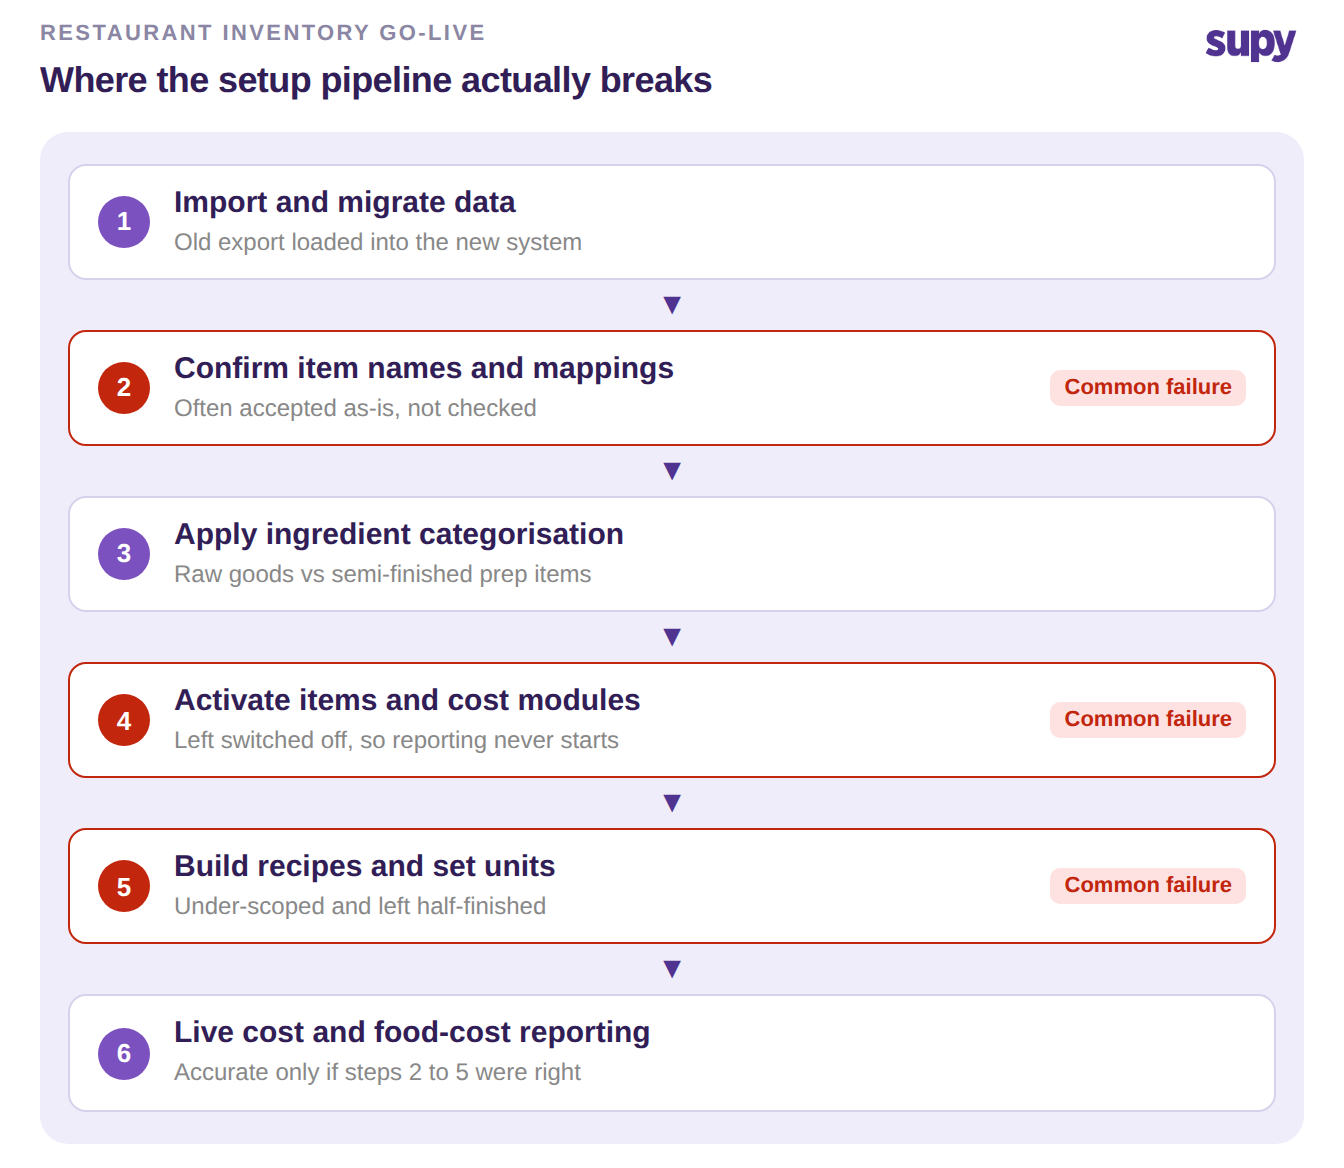
Most restaurant inventory system projects do not fail because the software is wrong. They fail during setup. The item master, the categorisation and the cost modules get configured in a rush, then nobody confirms them. Get those setup decisions right and the reports work from day one. Get them wrong and every number downstream is quietly off.
The trouble is that a botched setup looks fine at first. The screens load, the items are there, and the problems only surface weeks later when a food cost number looks wrong and no one can explain it. The six mistakes below are the ones that show up again and again on real go-lives. Each one is paired with the fix, so you can check your own setup before it is too late to change cheaply.
The Six Setup Mistakes That Derail Your Go-Live
These are configuration errors, not software faults. Walk each one against how your own setup was actually done.
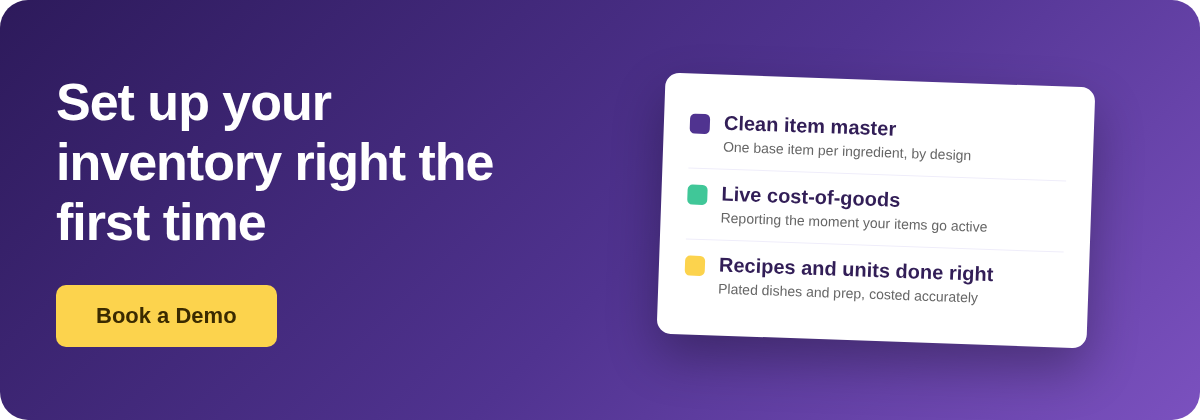
- Item names and mappings signed off without checking them. During onboarding, mappings get accepted as-is. A base ingredient gets tied to one specific branded product, or two different ingredients get merged into one. Every recipe and cost that uses that item then inherits the error, and someone has to unpick it later. The fix: before and right after import, open the item master and confirm each base item is one real ingredient, with its supplier products linked underneath it. One base item per ingredient is the rule to hold.
- Ingredient categorisation left in the file but never applied. Your master file separates semi-finished prep items from raw purchased goods, but that split never makes it into the system on upload. Raw goods and prep recipes end up jumbled together. They behave differently in stock and in reporting, so once they are miscategorised the usage and cost figures stop adding up. The fix: after upload, check a sample of raw items and prep recipes are typed correctly before you trust a single report.
- Items and the cost modules left switched off. The catalogue is loaded, but items are never activated and cost-of-goods tracking is never turned on. Weeks pass, the reporting you bought the system for never starts, and the team is still pulling numbers by hand. A dormant module produces nothing: data goes in and no report comes out. The fix: during onboarding, confirm items are active and that live cost-of-goods and food-cost reporting are actually running on real stock movements, not left for later.
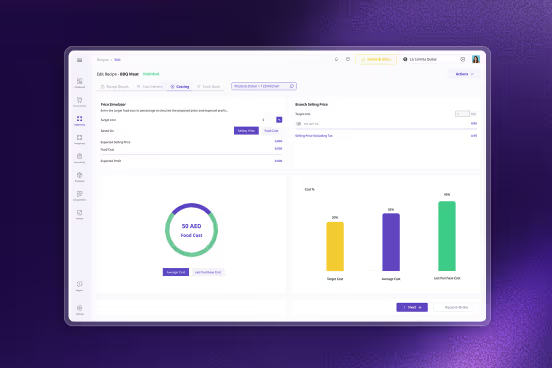
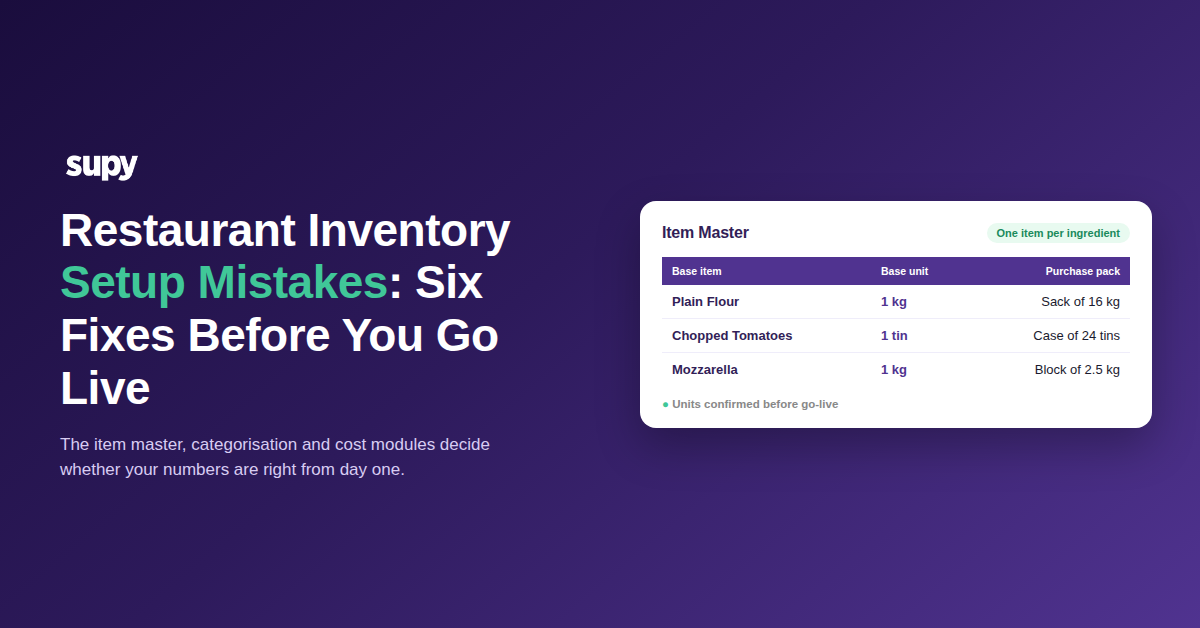
- Unit-of-measure conversions wrong on migrated recipes. A supplier case of 24 tins gets booked as a single unit, or a bulk sack is recorded in sacks instead of kilograms. The recipe that uses a couple of hundred grams of it then costs a fraction of the truth. Every plate cost, variance and food-cost percentage built on that item is silently wrong, and it all looks plausible enough that nobody catches it. The fix: set each base item's purchase-to-recipe unit conversion once, then check one costed recipe against a hand calculation before go-live.
- The recipe build under-scoped and left half-finished. Recipe entry gets started in the onboarding session, runs out of time, and the rest becomes manual work that never gets done. An incomplete recipe library means dishes do not deplete stock correctly and cost-of-goods is only partial. The system looks live, but the numbers have holes in them. The fix: scope the recipe build as a planned project with an owner and a deadline, not a single call. Enter your highest-volume dishes first, so the biggest cost drivers are accurate soonest.
- Treating the migration as a like-for-like import. A group switching off an old tool expects to lift and shift the data in an afternoon. Then the old export turns out to be full of duplicates and dead items that now pollute the new system. Importing a dirty file recreates every old mess and stacks fresh mapping errors on top. The fix: clean the export first, dropping duplicates and stale products, then roll out in phases. Our guide to migrating inventory data off an old platform covers that cleanup in detail. Get one site or one category live and verified before you move to the next, rather than switching everything at once.
Your Pre-Go-Live Self-Audit
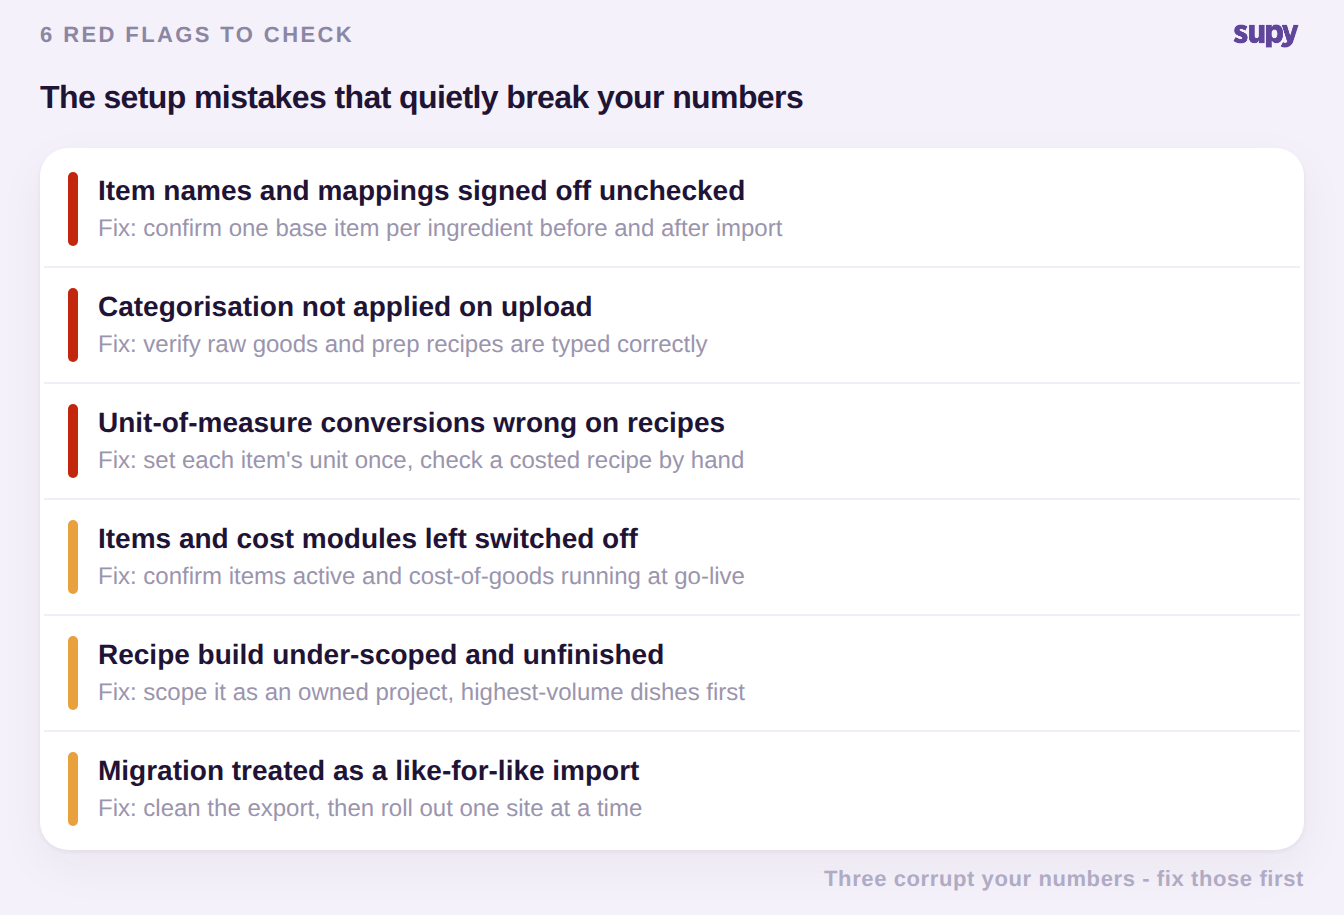
Run this before you sign off the setup. For each area, check what a correct configuration looks like and the red flag that means you are not there yet.
| Setup area | Set up right | Red flag to catch |
|---|---|---|
| Item master | One base item per ingredient, supplier packs linked | A branded product standing in for a whole ingredient |
| Categorisation | Raw goods and prep recipes typed correctly | Everything imported as one flat item type |
| Cost modules | Items active, cost-of-goods reporting live | Catalogue loaded but no report ever appears |
| Units | Purchase-to-recipe conversion set and checked | A case or sack booked as a single unit |
| Recipes | Highest-volume dishes fully built | Recipe entry stalled after onboarding |
| Migration | Clean data, then a phased rollout | Old export imported whole, duplicates and all |
If you only fix one thing before go-live, fix the item master. Mistakes one, two and four all live there, and every recipe and report inherits whatever is wrong in it. A clean item master, with one base item per ingredient and the right unit on each, is what keeps costing accurate across every site once you are live.
This is where dedicated restaurant inventory management software earns its place. It keeps the item master to one entry per ingredient by design. It runs live cost-of-goods and food-cost reporting the moment items are active. And it holds plated dishes, prep recipes and their yields in one place. Set up carefully once, it stops the setup mistakes above from ever taking root. The related inventory implementation checklist walks the same setup step by step, so you can confirm each stage as you go.